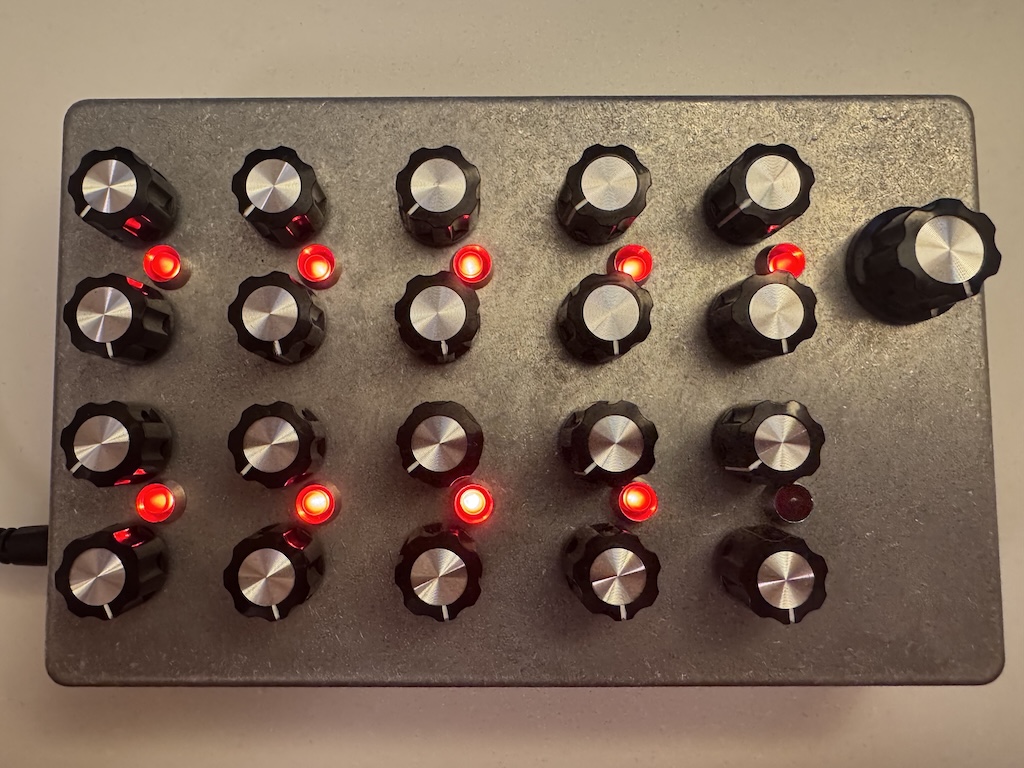
This repository is provided for information only. I am not an electronic or electrical engineer, and so, if you decide to build this project, you do so at your own risk.
Introduction and inspiration
This project was inspired by the work by Sam Battle of Look Mum No Computer. Sam released a video where he made a synthesiser from a Red Bull can – watch it here. In his related post ‘Super simple oscillator’ he described more of the electronics and a few example schematics. There was also a link to a more technical description of reverse avalanche mode on a blog BJT In Reverse Avalanche Mode by Kerry D. Wong. It was through both Sam’s and Kerry’s websites that I learned more about the SS9018 and became inspired to make a drone synth.
This page by ‘Pixmusix’ is perhaps the best I have found so far on this type of oscillator, its history, how it works and some nice working examples. Pix also provide a very nice animation of this circuit in action.
The design
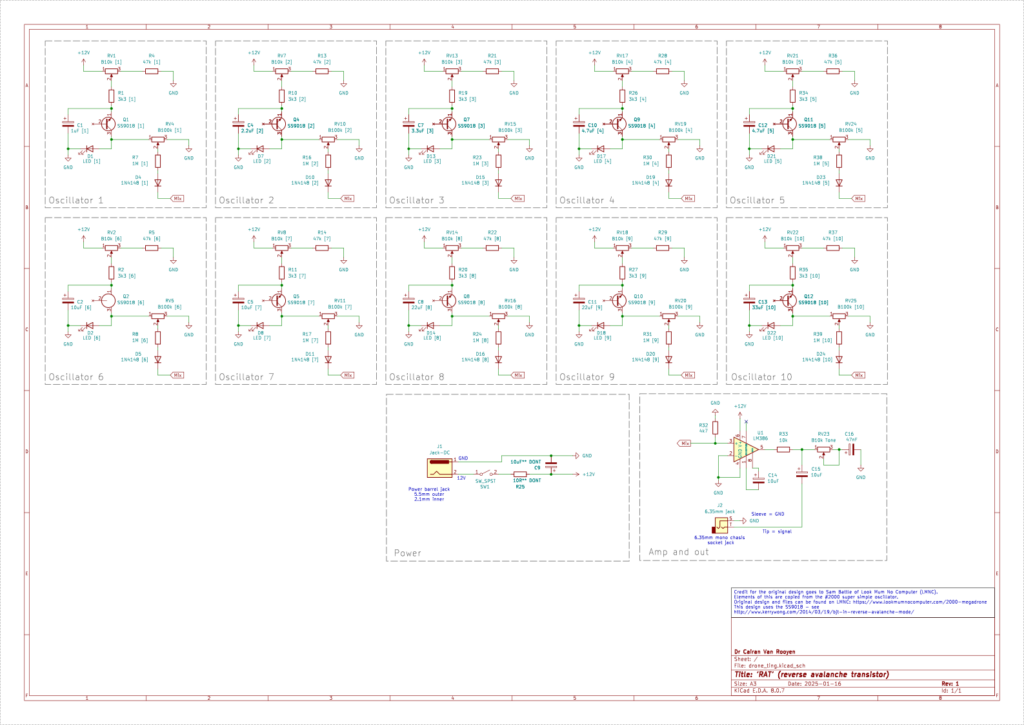
My design is an adapted version of Sam Battle’s ‘2000 Megadrone Module’. There are schematics and a BOM on his website.
I adapted the design – removed CV, eurorack power and adapted the capacitors to generally be lower in value and therefore lower in pitch.
If you want to build this yourself, you should explore different capacitor values to suit your tastes. I chose 100uF (low), 10uF (mid) and 4.7uF (high). Although if i built another, i might include more variety.
Note:
Vary the capacitors according to your taste. I used 100uF, 10uF and 4.7uF – this is different to the schematic.
The design includes 10 oscillators, each with their own pitch and volume control. Finally, there is a master tone control (a kind of low pass filter). The unit is powered by a 12V DC (2.5mm) male power adaptor.
Warning:
I messed up the potentiometer connections and so the pots work in reverse, which is kind of interesting and fits with the whole reverse theme of the synth. Some people may be annoyed or not like this – proceed at your own risk.
I designed the schematic and PCB in KiCAD – which is incredible and its free! My schematic, PCB and drill templates are included in this GitHub repository.
The PCB
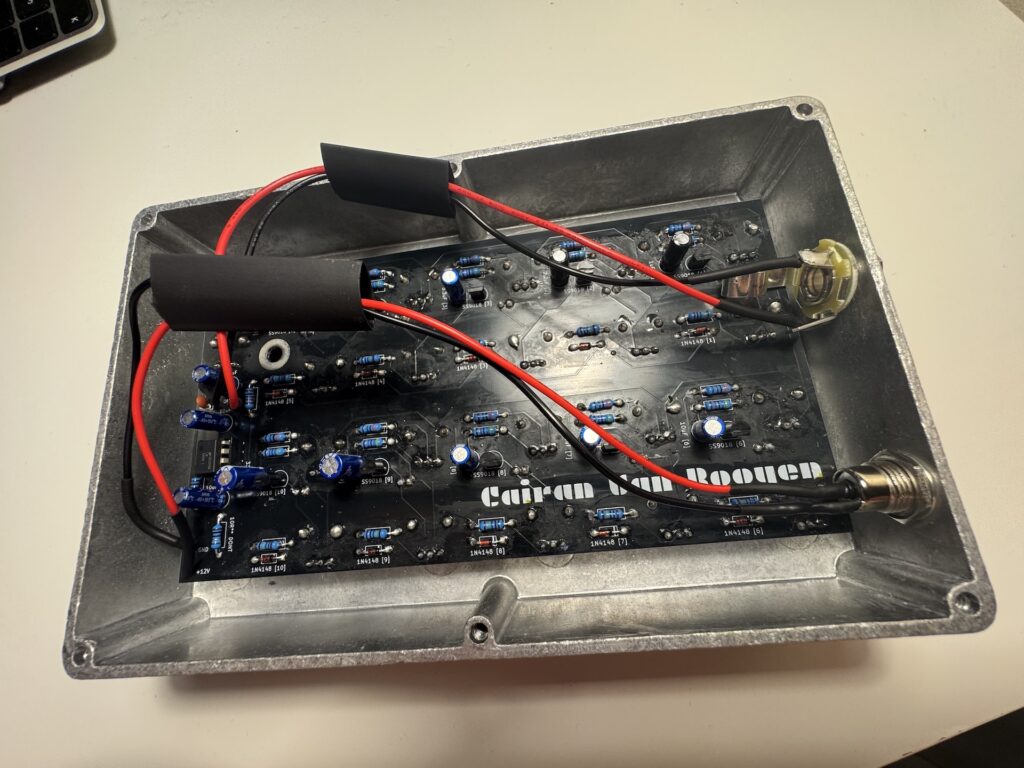
The PCB is simple, 2 sided with pots and LEDs on one side and all other components on the other. I had mine made by JLCPCB, costing $11.40 + postage – for 5! If you want to order the same for yourself – navigate to the \gerbers\send_to_PCB_manufacturer.zip – simply upload this to your chosen manufacturer to order.
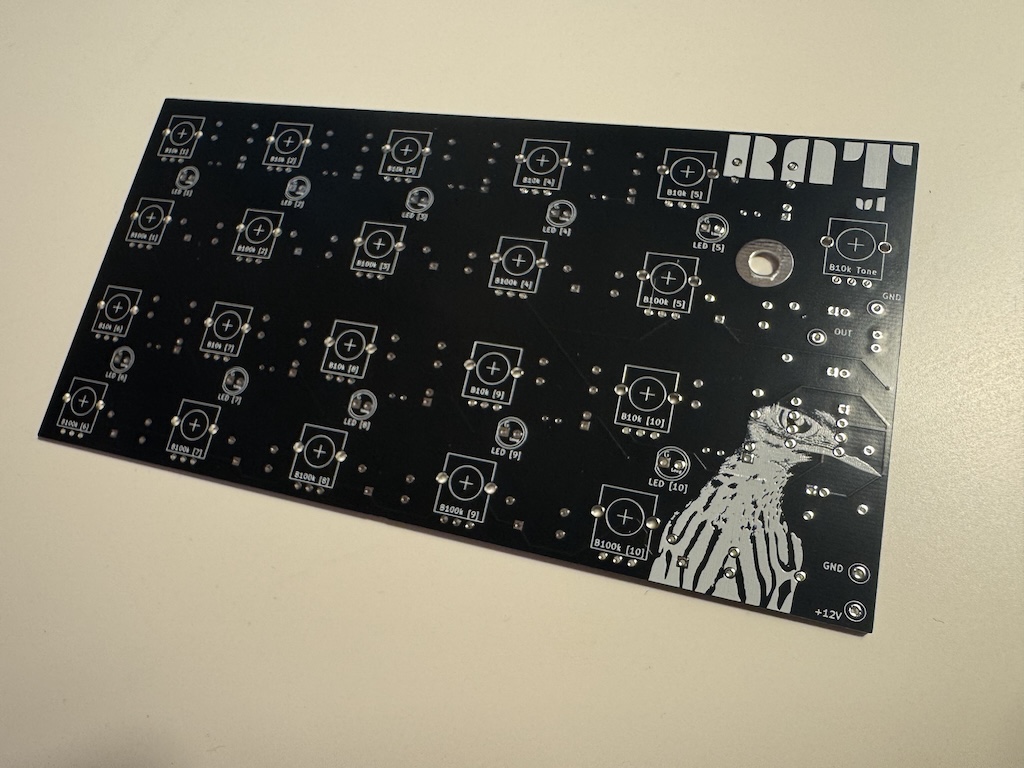
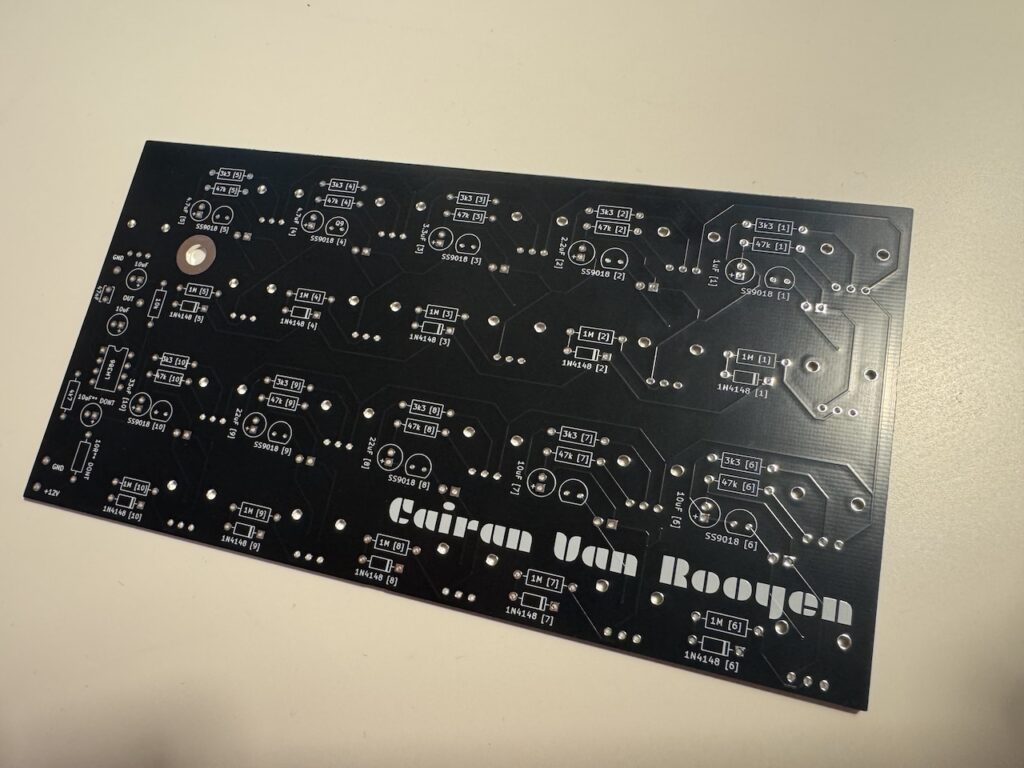
This is a very beginner friendly build, all through hole components and nothing too small.
Bill of materials
I used Tayda to source all my components, apart from the 10x SS9018, which i sourced from e-Bay (£7.95 + postage).
- Fairchild SS9018 VHF RF Bipolar Transistor
- LM386
- 100K OHM Linear Taper Potentiometer Round Shaft PCB 9mm
- 10K OHM Linear Taper Potentiometer Round Shaft PCB 9mm
- KN1360 ABS Fluted Black Knob 16x12mm – these are for the volume and tone knobs for each oscillator. I used a slightly larger knob for the master tone.
- REAN Neutrik NYS229 6.35mm 1/4″ Mono Chassis Socket
- DC Power Jack 2.5mm Panel Mount Round DC-099
- 5mm Bezel LED Holder Chrome Metal
- LED 5mm Red Super Bright
- Example capacitor: 10uF 50V 105C Radial Electrolytic Capacitor 5x11mm
- All resistors: 1/4W 1% metal film
- 1N4148 Switching Signal Diode
- 1 small ceramic disk capacitor
The enclosure
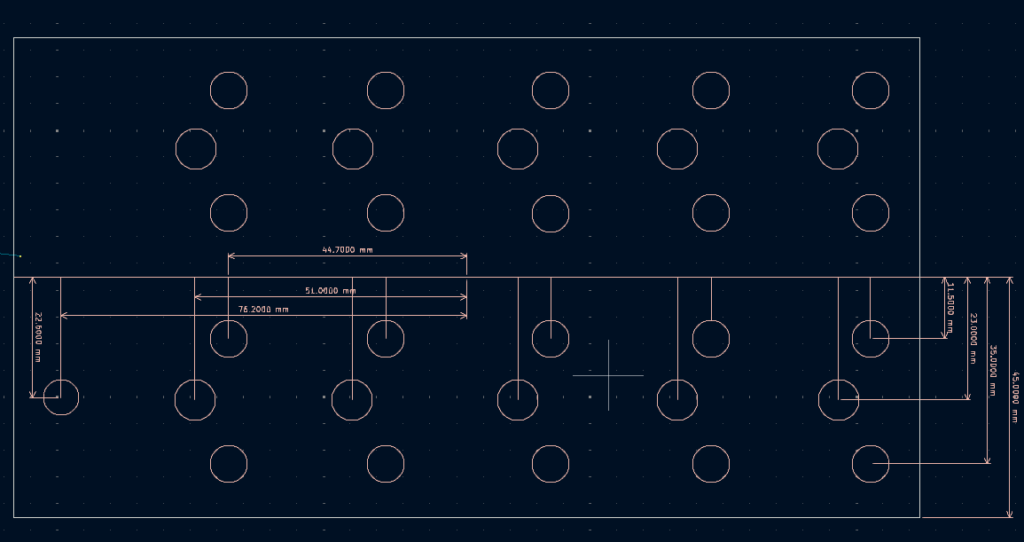
I wanted an 80’s industrial miltary/’submarine’ type vibe to suit the very heavy and industrial sounds that this drone synth can produce. I opted for a 1590DD Style Aluminum Diecast Enclosure from Tayda. I also got them to do all the custom drilling on the front. I have included the drilling template in the KiCAD files. Screenshot of this below:
The finished article
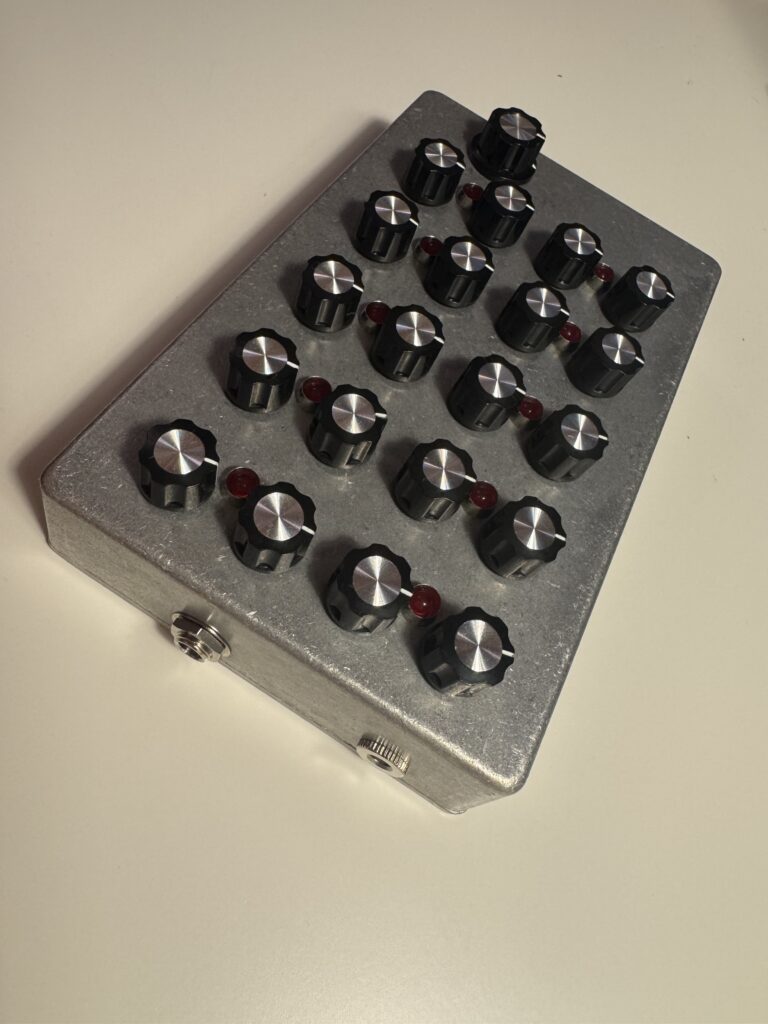
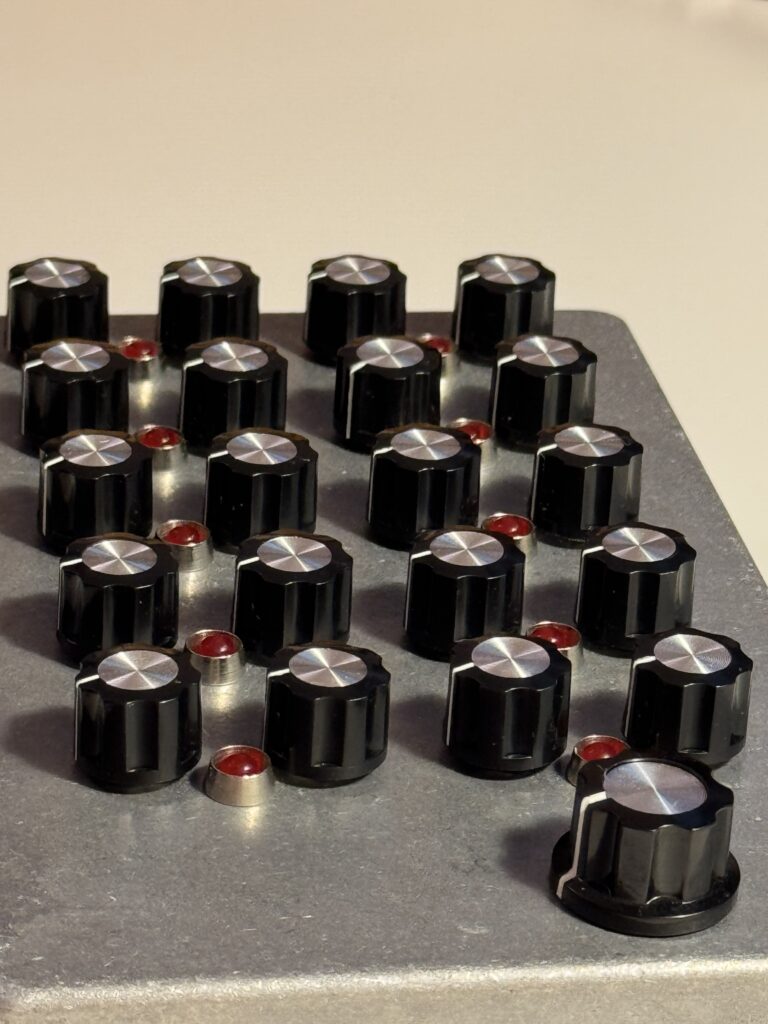
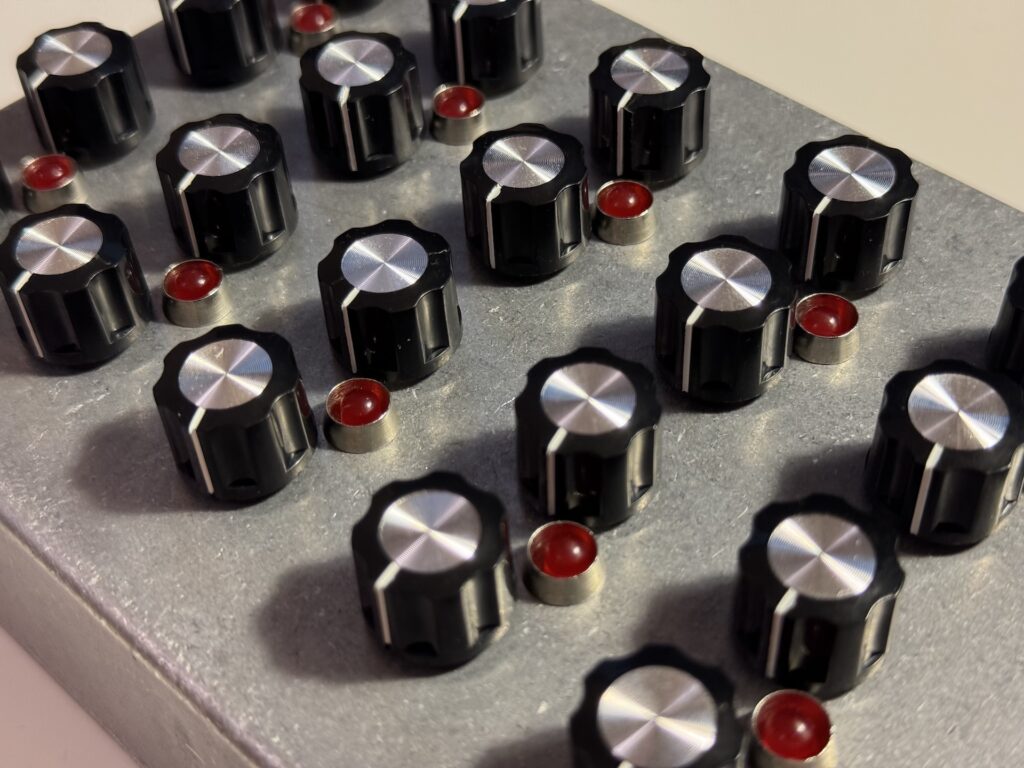
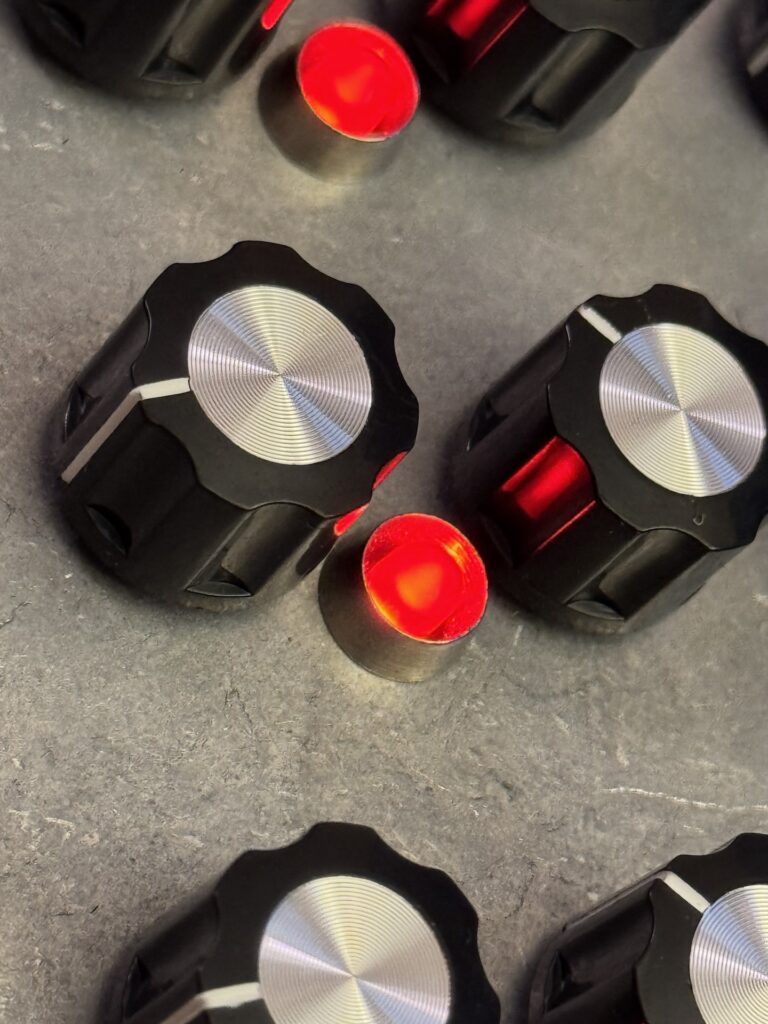
It turned out to be exactly how I imagined. I have contemplated laser etching some labels and things onto the synth front, but I actually like the fact that its clean and blank and is inviting and intriguing. It is after all, an incredibly simple instrument to use.
‘Technical’ audio demonstration
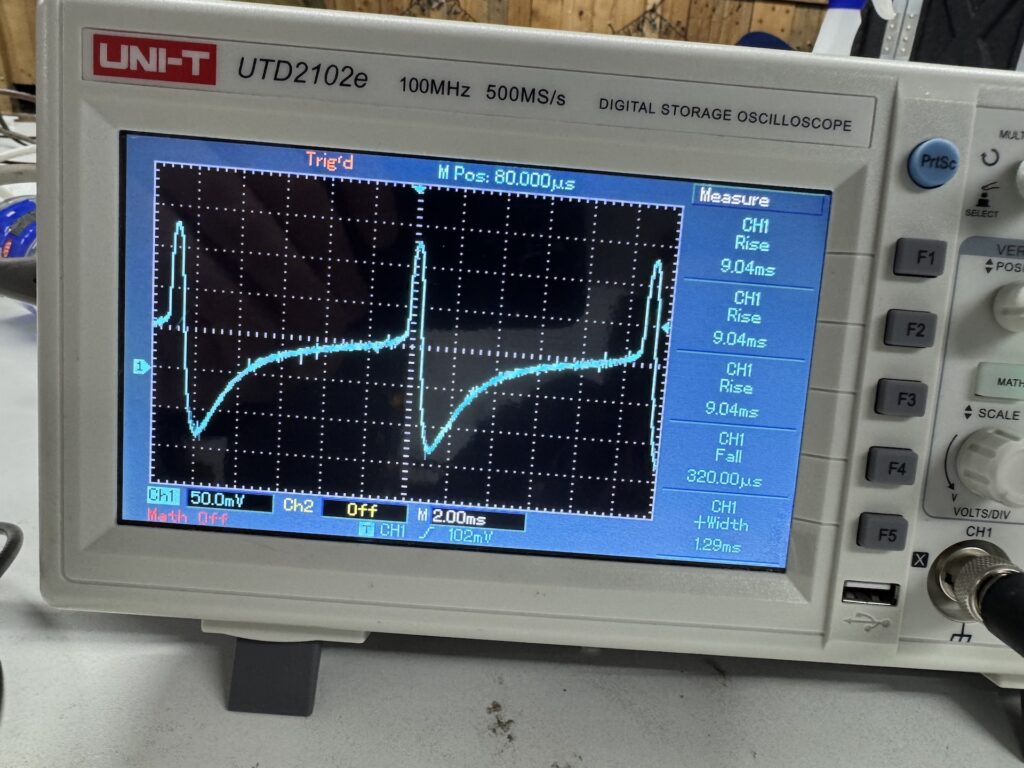
I also recorded a video where I connected the synth to my Focusrite Scarlett Solo, passed into Ableton Live and used Pro-Q3 and jo.Floating Oscilloscope 1.1 – see screenshot below. In the video, I slowly bring in each of the different (4.7uF, 10uF and 100uF oscillators) and change their volume and pitch. Pro-Q3 shows the frequency form of the sound and the oscilloscope (although not ideal) gives some idea of the waveform. The video can be accessed here on YouTube.

Sound demonstration
Lessons learned and future ideas
- Get the pots the right way around 😉
- Maybe have a cutout section in PCB to allow for power and audio jacks
- More variety in capacitor values
- Get Tayda to drill power and audio
- Maybe laser etch the face
- More additions: distortion, delay, wavefolder, on/off switches, CV, LFO, switching different caps and more…
